Introduction to Linux
Part 1. Linux shell primers
First, complete this introduction to Google Cloud Platform tutorial, up to but not including the deliverable, to set up your Kali Linux instance for use in the rest of Part 1.
Part 1.1. Complete a gentle introduction to the Linux terminal
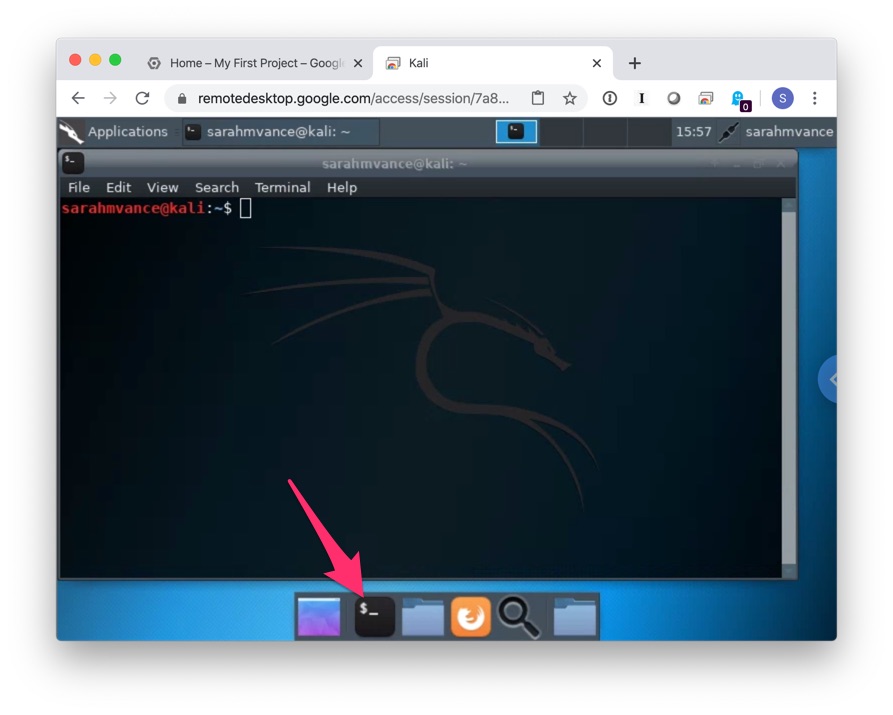
Once you have your Kali Linux instance set up in GCP, open a terminal Window in Kali by clicking the terminal icon in the application dock:
Next, using the terminal in Kali, complete pages 1–19 of this gentle introduction to the Linux terminal, aka shell.
Alternatively, Udacity has a free set of follow-along video lecture demonstrations that you might prefer instead.
Part 1.2. Text manipulation
In addition to the above tutorial, complete the following short pages from this set about text manipulation:
- 1.
stdout - 2.
stdin - 3.
stderr - 4.
pipeandtee - 15.
wcandnl - 16.
grep
Part 1.3. “Super-user do” (sudo)
Read this linuxjourney page to learn about
linux filesystem access permissions. Specifically, pay attention to the following quote about the sudo
command at the bottom:
We haven’t gone through permissions yet, but what’s happening here is that root is the owner of the file and you’ll need root access or be part of the shadow group to read the contents. Now run the command with sudo:
$ sudo cat /etc/shadowNow you’ll be able to see the contents of the file!
Part 1.4. Learn a text editor
You can use text editors to edit text files from a shell.
Search for and complete an introductory tutorial to a command-line text editor,
such as this one for nano.
Better yet, watch this intro nano video first, from the Udacity courses mentioned above.
If you want to learn vim, see the vim tutorial here. But beware, vim has a steep learning curve.
Part 1.5. Tips.
-
Copy-paste is also often available, and is a lifesaver. The trouble is that it can be different for each shell, and it’s rarely the OS-usual
ctrl\cmd+candctrl+v.- Pasting is often a right-click of the mouse, or the
shift+insertkey combination. - Copying is often highlighting the text with your cursor and then hitting
enter.
Try clicking the shell app icon on the top-left of your screen and searching the
Editmenu there to see a list of commands and their keyboard shortcuts next to them. - Pasting is often a right-click of the mouse, or the
-
Tab-completion and history navigation is available in many shells. Use them! They will save you from typos and make it look like you can type at the speed of a wizard. If I ever see you not using tab completion, I will tsk-tsk you and have you do it again.
Read about history navigation on the
historylinuxjourney lesson. Specifcally, note the below quotes:Want to run the same command you did before, just hit the up arrow.
Want to run the previous command without typing it again? Use !!. If you typed cat file1 and want to run it again, you can actually just go !! and it will run the last command you ran.
While we are talking about useful things, one of the most useful features in any command-line environment is tab completion. If you start typing the beginning of a command, file, directory, etc and hit the Tab key, it will autocomplete based on what it finds in the directory you are searching as long as you don’t have any other files that start with those letters. For example if you were trying to run the command chrome, you can type chr and press Tab and it will autocomplete chrome.
Also see this tutorial.
sudo !!: A common idiom that you may experience is running a command and getting some kind of "permission denied" response. When this happens, you can runsudo !!to try again with elevated rights (assuming you have them).Now you really understand the relevant xkcd.
Part 2. Play the Bandit wargame on OvertheWire.org
Play the Bandit wargame on OvertheWire.org. Start at Level 0 and complete Level 15 (which gives you the password for Level 16).
To play, you’ll need to connect to the Bandit server using an SSH client. SSH stands for Secure SHell, and allows you to remotely control a server using a command line interface. SSH is secure because your connection to the server is encrypted using a symmetric cipher like AES. It also uses asymmetric cryptography such as RSA to establish the server’s identity.
Using SSH on Windows
If you’re using Windows, open a PowerShell window by typing powershell in Windows search and pressing enter.
Enter the username (bandit0), server address, and port (2220) into PowerShell like so:
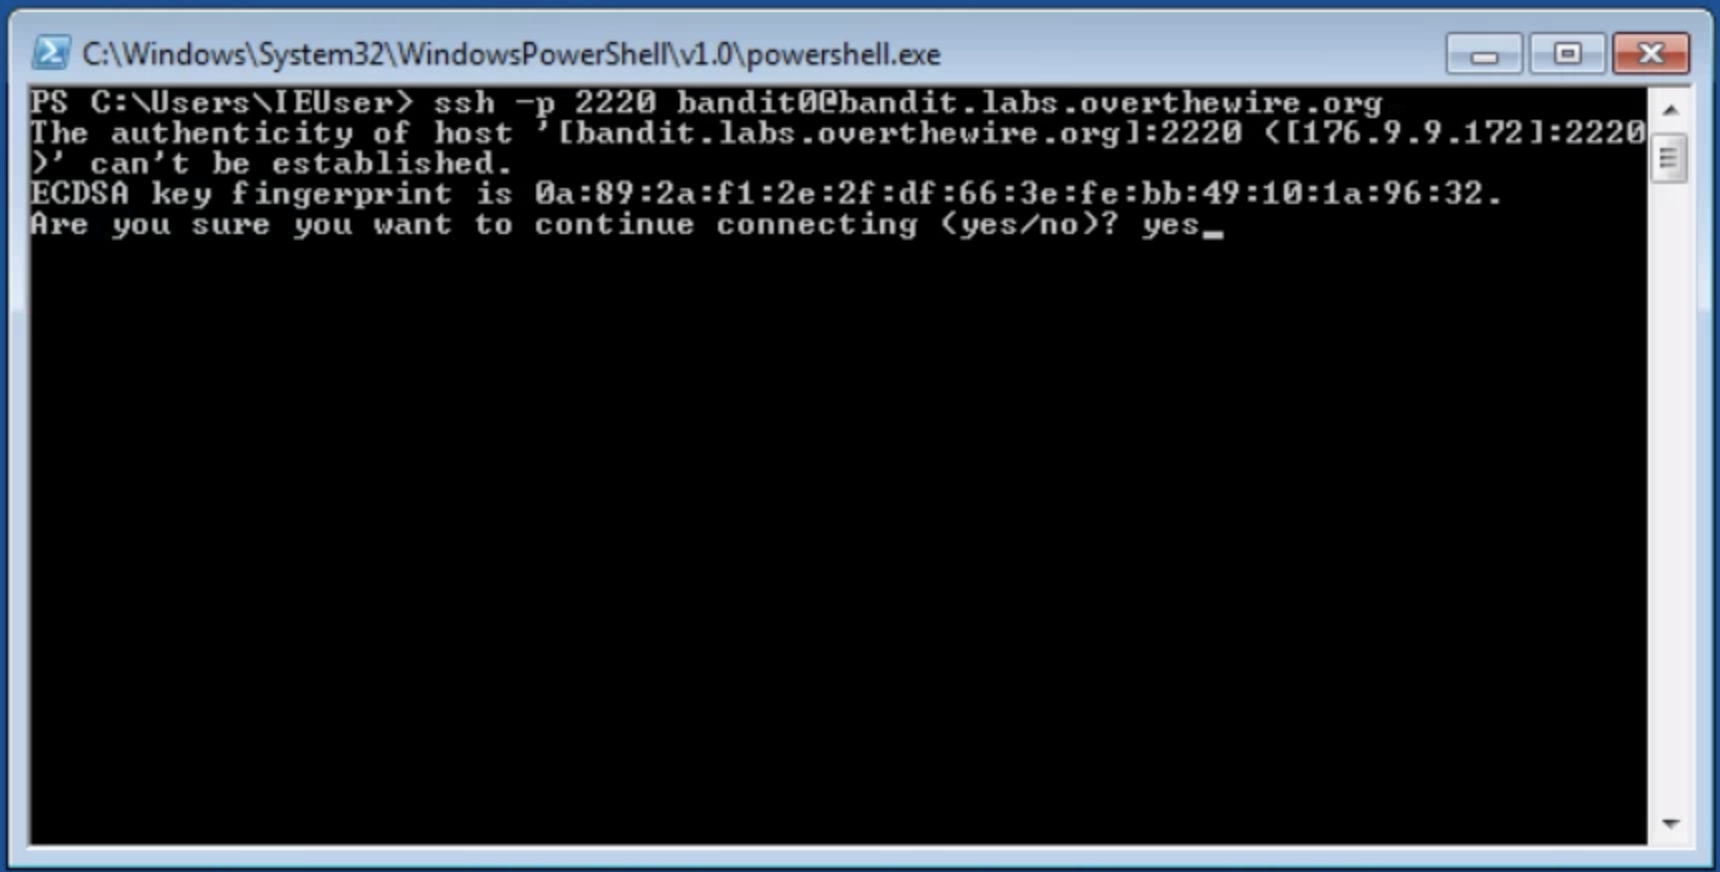
The password is bandit0.
The first time you connect to a server, SSH tells you that you haven’t connected to this server before, and shows you a “fingerprint” of the server. Every server should have a unique fingerprint. To learn more about verifying SSH fingerprints, see here.
To continue logging in, type yes (that’s three letters: y-e-s) and press enter.
Using SSH on MacOS
If you’re using a Mac, open Terminal.app and use the ssh command to connect to the Bandit server, like so:
ssh -p 2220 [email protected]
When you first connect to a sever using SSH, you’ll see a message like the following:
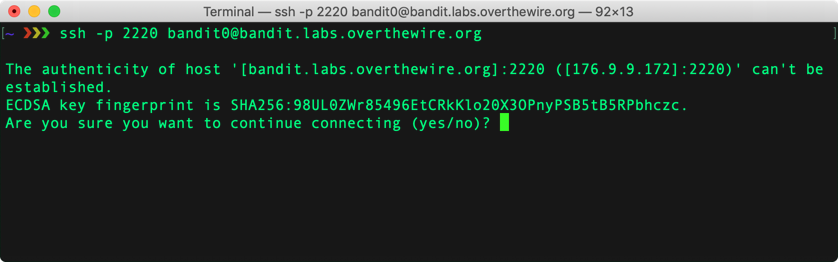
This message tells you that you haven’t connected to this server before. The Bandit server is using a ECDSA asymmetric key pair, which is similar to RSA. The fingerprint is a hash of the server’s public key. To learn more about verifying SSH fingerprints, see here.
To continue logging in, type yes (that’s three letters: y-e-s) and press enter.
Instructions
- When you type in your password, you won’t see any characters. This is a
security feature to prevent shoulder
surfing.
Enter the password
bandit0and pressenterto login. - Start at Level 0 which requires you to login to the Bandit server using SSH. Next, visit the Level 0 -> Level 1 for instructions on how to get to the next level. Continue until you successfully complete Level 15 -> Level 16, which gives you the password for Level 16.
- Use the
mancommand and search the web to learn about the recommended commands (i.e., “Commands you may need to solve this level”) to help you reach the next level. Learning for yourself how to use new commands is a key part of this tutorial.
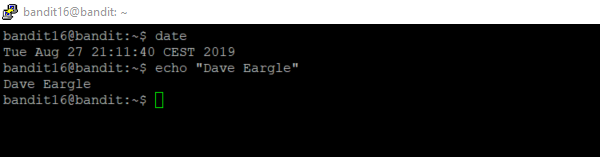
Deliverable
Make it all the way to level 16. When you have reached level 16, prove it by taking a screenshot of your ssh terminal session showing:
- you logged in as
bandit16@banditin the prompt. - your name
- the date.
For example: